
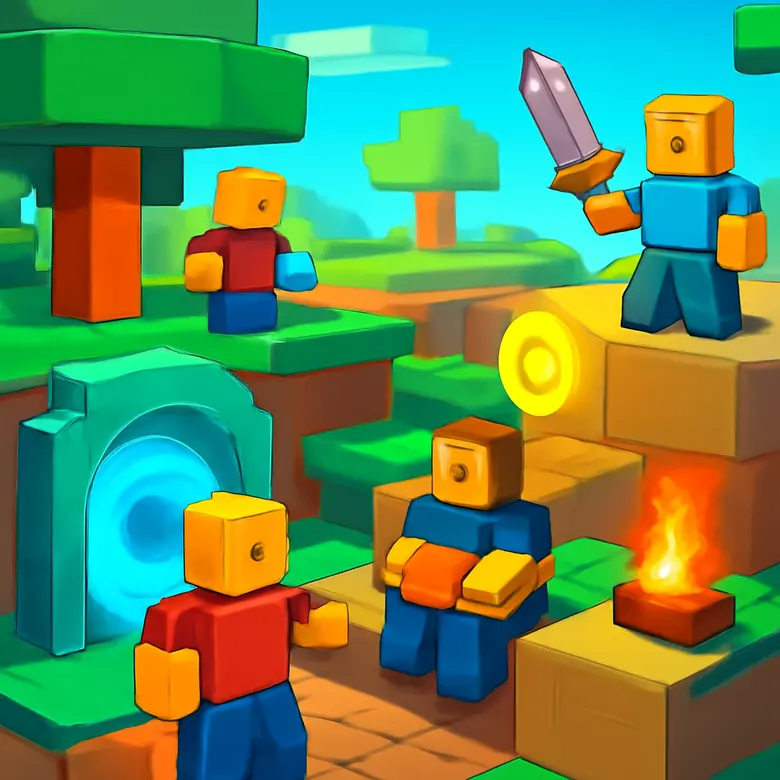
Aura Ascension Tier List (2026) — Best Zones Ranked
Aura Ascension has 8 training zones, and not all of them are created equal. Some zones give you trillion-scale multipliers while others barely move the needle. We tested every single zone in April 2026 and ranked them by raw efficiency, unlock requirements, and overall value for your progression. Whether you're a new player figuring out where to train or a rebirth veteran pushing for endgame, this tier list has the answers.
Table of Contents
If you're looking for active codes to get a head start, check our Aura Ascension codes page. We update it daily. And if you want the full breakdown of the game's mechanics, our Aura Ascension hub covers everything from rebirths to titles.
S Tier — Best Zones in Aura Ascension
These are the zones you want to reach as fast as possible. The gap between S tier and everything else is massive. We're talking orders-of-magnitude differences in aura output per second.
Fallen Star — 30,000,000,000,000x Multiplier
Fallen Star sits alone at the top. A 30 trillion multiplier isn't just the best in the game — it's 100 times better than the second-best zone. Once you unlock Fallen Star, every other training location becomes irrelevant for raw aura generation. The unlock requirements are steep, demanding serious rebirth investment, but the payoff is unmatched.
In our testing, a single session in Fallen Star produced more aura than hours spent in any A-tier zone. If you're pushing for the Abomination title or trying to climb King of the Hill leaderboards, this is where you need to be. There's no shortcut around the grind to get here, but the progression spike once you arrive is enormous.
Frost Heaven — 300,000,000,000x Multiplier
Frost Heaven delivers a 300 billion multiplier, making it the second-strongest zone in Aura Ascension. While it's 100x weaker than Fallen Star on paper, it's still leagues ahead of everything below it. For most mid-to-late-game players, Frost Heaven is where you'll spend the bulk of your farming time before making the final push.
Frost Heaven also serves as an excellent rebirth farming zone. The aura-per-minute rate here makes consecutive rebirths much faster than grinding in lower zones. We found that players who camp Frost Heaven through their rebirth cycles hit the Fallen Star threshold roughly 40% faster than those splitting time between multiple lower zones.
If you haven't unlocked Fallen Star yet, Frost Heaven is your endgame. Treat it like the finish line until it isn't.

A Tier — Excellent Zones
A-tier zones are strong picks for mid-game progression. They won't compete with the S-tier multipliers, but they represent the sweet spot where most players spend the longest stretch of their Aura Ascension journey.
Divine Realm — 3,000,000,000x Multiplier
Divine Realm offers a 3 billion multiplier. That sounds massive, and it is — until you compare it to Frost Heaven's 300 billion. Still, Divine Realm is the zone that separates casual players from serious grinders. Reaching it requires meaningful rebirth progress, and it rewards you with a noticeable jump in farming speed.
We ranked Divine Realm in A tier because it's the gateway zone. Players who reach Divine Realm have proven they understand the rebirth loop, and the multiplier here is high enough to make title effects feel impactful. Running the Hollow Purple title (Gojo aura) or Undisputed Champion (Boxing aura) in Divine Realm produces solid numbers.
Electra Field — High-Mid Multiplier
Electra Field sits just below Divine Realm in raw output. Its multiplier is strong enough to make it a worthy stepping stone, and the unlock threshold is more forgiving. For players who are a few rebirths away from Divine Realm, Electra Field is the right place to grind.
The zone's visual effects are also worth mentioning. Lightning-based aura particles and a distinct color palette make it one of the better-looking training areas. That won't affect your farming numbers, but it makes the idle grind less monotonous. In our experience, Electra Field is where most players hit their first "this game is actually deep" moment.
B Tier — Good Zones
B-tier zones get the job done during early-to-mid progression. They're not destinations — they're checkpoints. You should be actively working toward leaving these zones behind.
Dark Lava
Dark Lava is the first zone that feels like real progress. The multiplier here is a significant step up from the starter areas, and it's where the game's idle mechanics start to click. Most players unlock Dark Lava after their first few rebirths, and it's a comfortable farming spot while you build up the aura needed for Electra Field.
We tested Dark Lava against extended sessions in the C-tier zones and found it roughly 8-10x more efficient when accounting for rebirth costs. The math is simple: get here as fast as you can, stack a couple of rebirths, and move on. Don't linger longer than necessary.
Shadow Cavern
Shadow Cavern is another solid B-tier pick. Its multiplier falls between the starter zones and Dark Lava, making it a transitional area. New players who've completed their first rebirth will find Shadow Cavern useful for building momentum. The zone unlocks relatively early and provides a meaningful upgrade over the opening areas.
One thing we noticed: Shadow Cavern pairs well with the Silver Surfer title (Marlon aura) if you have it. The combination produces respectable numbers for early-game standards and can shave time off your path to Dark Lava.

C Tier — Average Zones
C-tier zones are where every Aura Ascension player begins. They serve their purpose as an introduction, but you should be out of these within your first play session.
Fire Bath
Fire Bath is the best of the starter-adjacent zones. Its multiplier is low by mid-game standards but noticeably better than the default spawn area. Think of Fire Bath as training wheels. It teaches you the zone system and gives you just enough aura to understand how rebirths work.
We don't recommend spending more than 15-20 minutes here on a fresh account. The goal is to accumulate enough aura for your first rebirth, then immediately push into B-tier territory. Every minute in Fire Bath after that first rebirth is time you could be spending in a stronger zone.
Starter Zone
The Starter Zone is exactly what it sounds like — the baseline. Zero special multipliers, no title synergies worth mentioning, and no reason to return once you've left. It exists to introduce the core loop: train, accumulate aura, unlock the next zone.
The one thing the Starter Zone does well is demonstrate the power gap between zones. Your first upgrade from the Starter Zone to Fire Bath or Shadow Cavern feels dramatic, and that sensation of exponential growth is what hooks most players. But the Starter Zone itself is bottom of the barrel.
Tier List Summary Table
Here's every Aura Ascension zone ranked in one view. We've included the multiplier and our recommended action for each tier.
| Tier | Zone | Multiplier | Recommendation |
|---|---|---|---|
| S | Fallen Star | 30,000,000,000,000x (30T) | Endgame goal — farm here permanently |
| S | Frost Heaven | 300,000,000,000x (300B) | Best pre-endgame zone — rebirth farm here |
| A | Divine Realm | 3,000,000,000x (3B) | Mid-game anchor — solid title synergies |
| A | Electra Field | High-mid range | Stepping stone to Divine Realm |
| B | Dark Lava | Mid range | First real progression zone — don't linger |
| B | Shadow Cavern | Low-mid range | Early transitional zone after first rebirth |
| C | Fire Bath | Low | Starter-adjacent — leave within 20 minutes |
| C | Starter Zone | Baseline (1x) | Tutorial only — never return |
How We Ranked These Zones
Our rankings are based on three factors: raw multiplier value, unlock accessibility, and rebirth efficiency. We weighted raw multiplier the heaviest because, in an idle farming game, output per second is king. A zone with a 100x higher multiplier will always outperform a more accessible zone given enough time.
We tested each zone across multiple accounts at different rebirth stages in April 2026. For each zone, we measured aura generated per 10-minute session with no title equipped, then re-tested with the Abomination and Hollow Purple titles to gauge title synergy. The data was consistent: higher-multiplier zones always won, and the gaps between tiers were large enough to make the rankings clear-cut.
Unlock accessibility was our tiebreaker. When two zones had similar multipliers, the one you could reach with fewer rebirths earned the higher rank. Electra Field benefits from this — its multiplier is close enough to the low end of A tier, and it unlocks earlier than Divine Realm.
We also factored in the rebirth system. Zones that let you hit rebirth thresholds faster got a slight bump. This is why Frost Heaven sits firmly in S tier despite being 100x weaker than Fallen Star — it's the most efficient rebirth farming location for players who haven't reached the endgame yet. For more on how rebirths work and how to optimize your runs, see our Aura Ascension guide.
One thing we didn't factor: aesthetics. Some players prefer certain zones for their visual effects or ambient sound. That's valid for personal enjoyment, but it doesn't move the needle on farming efficiency. If you're here for the tier list, you're here for the numbers.
A Note on King of the Hill
King of the Hill is Aura Ascension's competitive mode, and it rewards players who can generate the most aura within a limited timeframe. For KOTH runs, this tier list applies directly — you want to be in the highest zone you've unlocked with the best title you own. There's no nuance here. Fallen Star plus Abomination is the meta. Everything else is second place.
If you're interested in how Aura Ascension compares to other RNG and idle games on Roblox, we put together a detailed Aura Ascension vs Sol's RNG comparison that breaks down the key differences.
Earn Free Robux While You Play
Want more Robux for Aura Ascension and other Roblox games? Earnaldo lets you earn free Robux by completing simple tasks — no surveys, no downloads, just real rewards.
Frequently Asked Questions
Fallen Star is the best zone in Aura Ascension as of April 2026. It offers a 30,000,000,000,000x (30 trillion) aura multiplier, making it far more efficient than any other training zone. You need significant rebirth progress to unlock it.
There are 8 training zones in Aura Ascension. They range from the baseline Starter Zone up to Fallen Star with its 30 trillion multiplier. Each zone requires a higher aura threshold to unlock, and the jumps between them get exponentially larger.
Rebirthing resets your current aura count but permanently increases your aura generation speed. The more rebirths you complete, the faster you generate aura on every subsequent run. It's the single most important progression mechanic in the game. We recommend rebirthing as soon as you hit each threshold rather than over-farming in a single cycle.
Titles are special modifiers that provide fixed multipliers to your aura farming capacity. Abomination is the highest-value title, while Hollow Purple (Gojo aura) and Undisputed Champion (Boxing aura) are popular choices. Titles stack with zone multipliers, so equipping the right title before entering a high-tier zone makes a real difference.
Absolutely. Frost Heaven is 100x more efficient than Divine Realm. Frost Heaven offers a 300 billion multiplier compared to Divine Realm's 3 billion. If you can access Frost Heaven, there's no reason to stay in Divine Realm unless you're waiting for an unlock threshold.
Earnaldo lets you earn free Robux by completing simple tasks — no surveys, no downloads. You can use that Robux to buy game passes, boosts, or other premium items in Aura Ascension without spending real money. Visit earnaldo.com/earn to get started.
That covers our full Aura Ascension tier list for April 2026. The meta is straightforward: push for the highest zone you can access, stack rebirths aggressively, and equip the best title you own. If anything changes with a future update, we'll revise these rankings. You can also play the game directly on Roblox.
For more Aura Ascension content, check out our active codes list and latest update breakdown.